Description
Use WordPress pages to create support tickets directly in Integria IMS opensource ticketing system. You can choose custom forms created with formidable and set the REST API integration do the rest for you. You can also use Integria IMS WP plugin to insert your leads in Integria IMS from a custom form.
Sections:
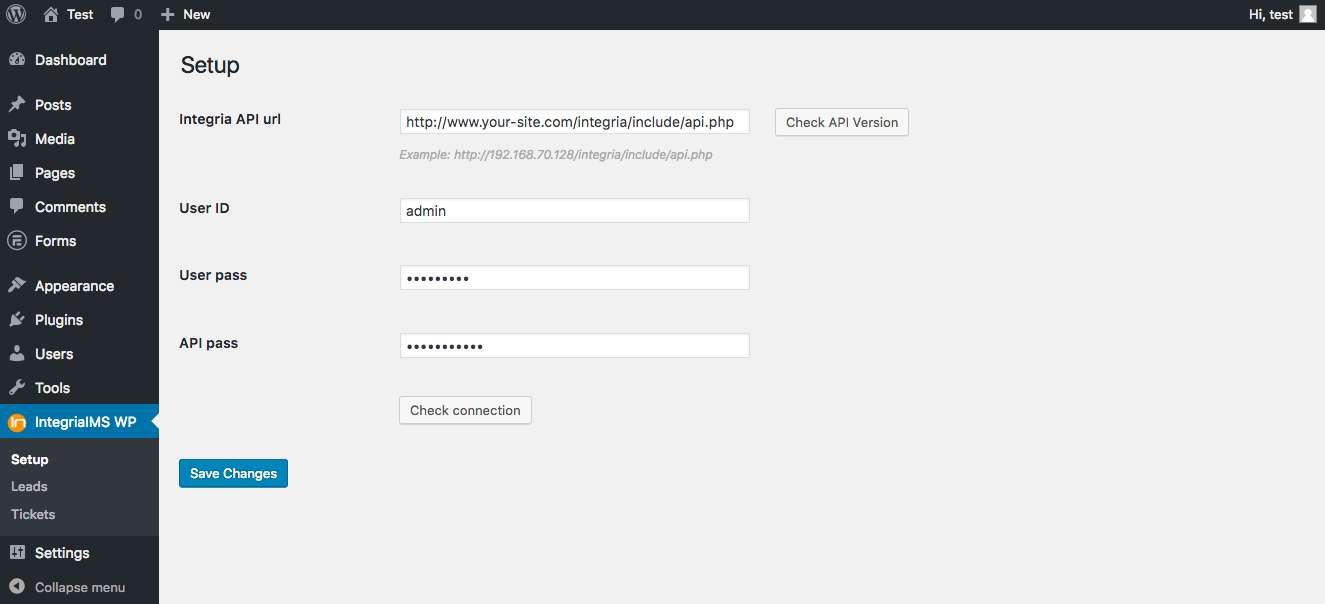
- “Setup”: here, you can set the data of your Integria:
* Integria API url: Copy here the url of your Integria.
* User ID: You can find it in menu ‘People’. In the table, search ‘User ID’.
* User pass: Your password for that user.
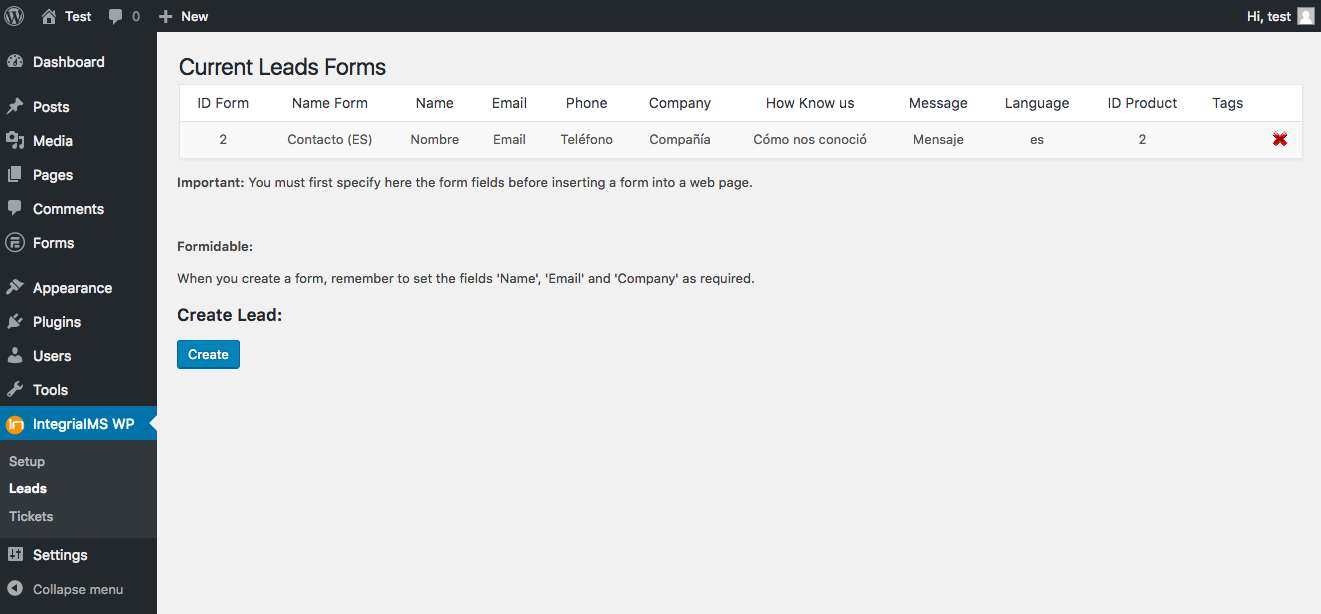
* API pass: In Integria, go to gearwheel at top right, and search ‘API Password’. - “Leads”: here, you can create and delete forms to send to Integria to create leads.
* You must first specify here the form fields before inserting a form into a web page.
* When you create a form, remember to set the fields ‘Name’, ‘Email’ and ‘Company’ as required.
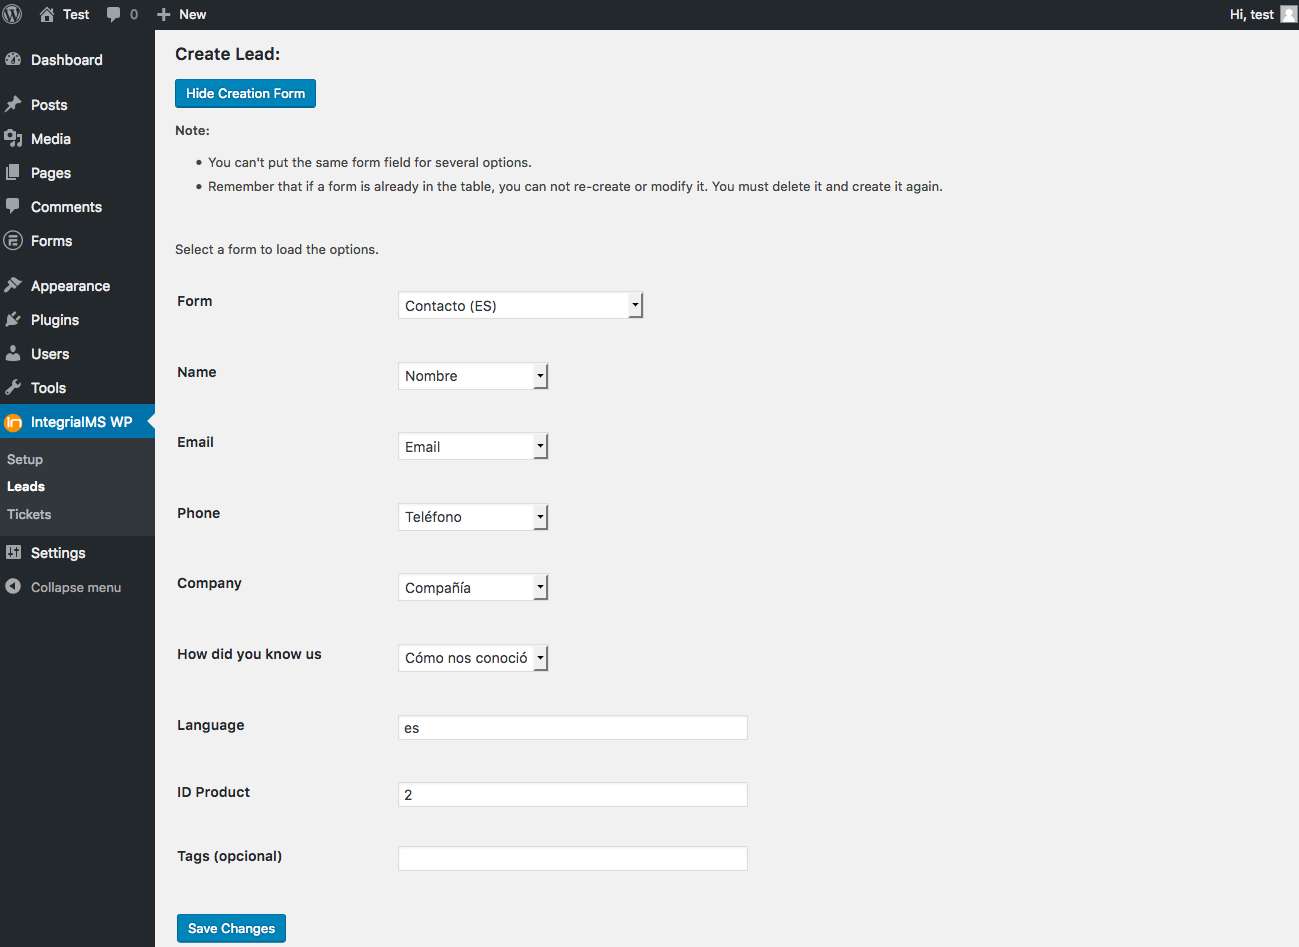
* Remember that if a form is already in the table, you can not re-create or modify it. You must delete it and create it again.
* You have to select a form to load the options.
* You can’t put the same form field for several options.
* “Create Leads”
* Language: Valid values are:
* de: Deutch
* en_GB: English
* es: Spanish
* fr: French
* pl: polish
* ru: Rusian
* zh_CN: Chinese
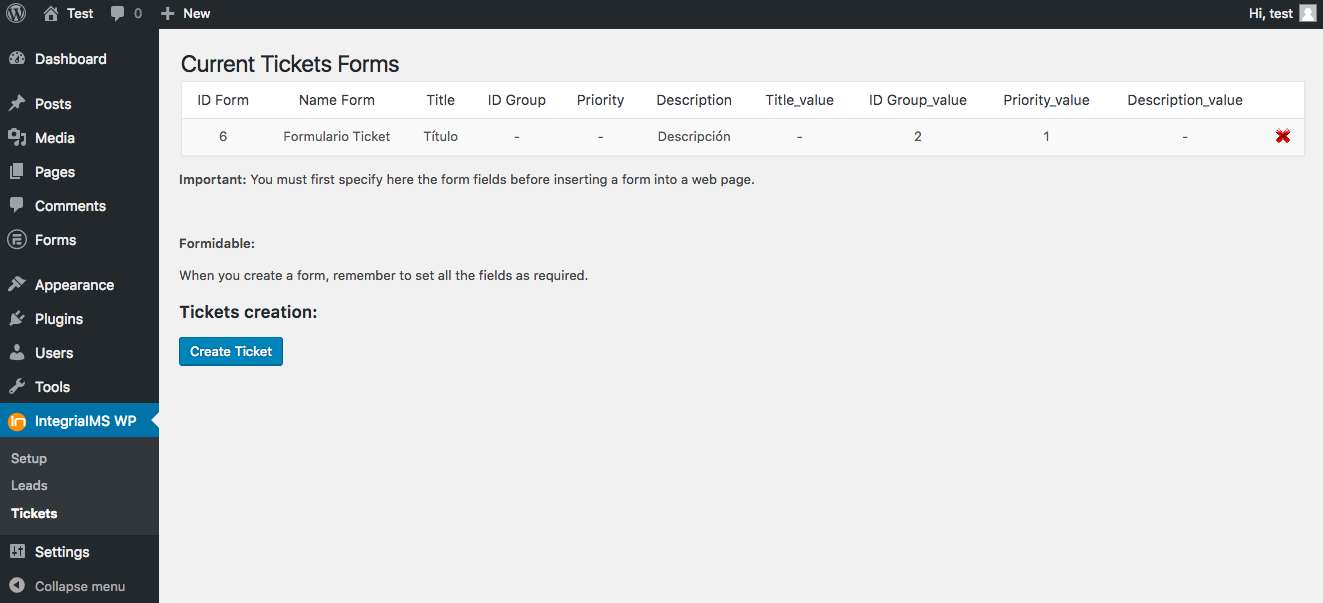
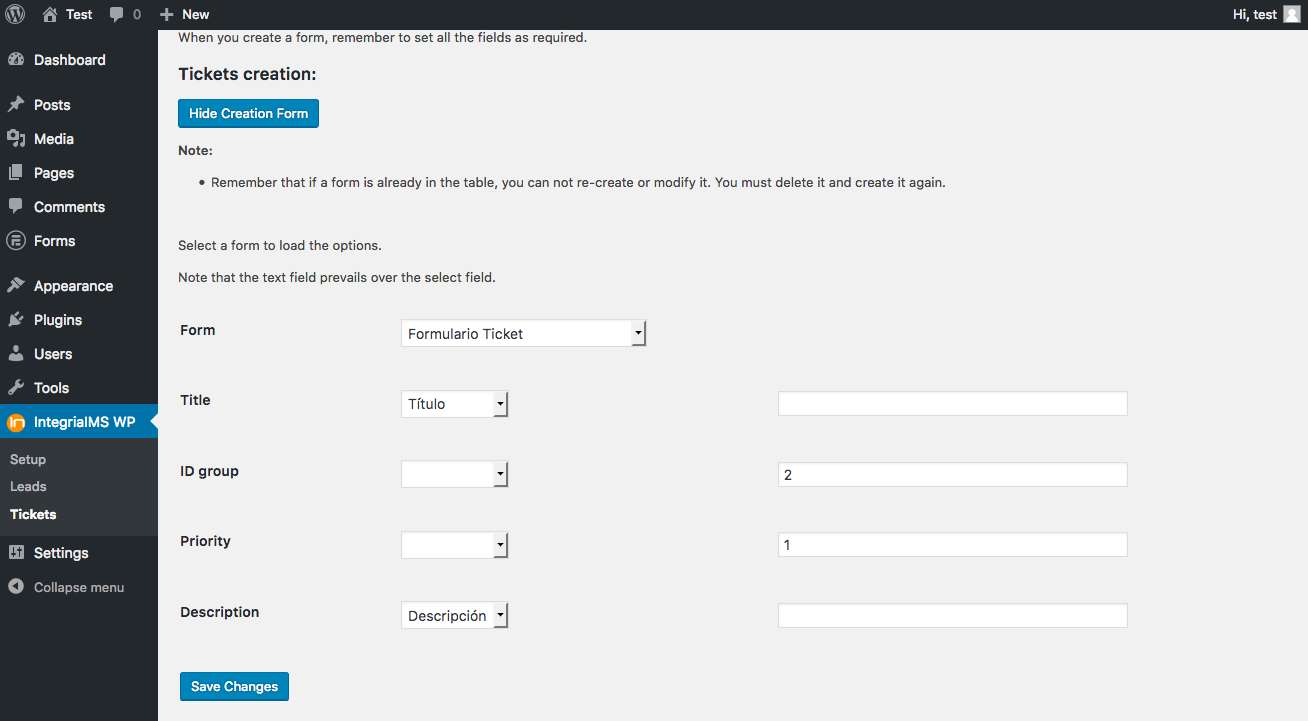
* ID Product: You can find it in menu ‘Support’. On the left, click the first icon and select ‘Product types’ and search ‘ID’ in the table. - “Tickets”: here, you can create and delete forms to send to Integria to create tickets.
* You must first specify here the form fields before inserting a form into a web page.
* When you create a form, remember to set all the fields as required.
* Remember that if a form is already in the table, you can not re-create or modify it. You must delete it and create it again.
* You have to select a form to load the options.
* You can’t put the same form field for several options.
* The text field prevails over the select field.
* “Create Tickets”
* Priority: Valid values are:
* 10 → 0 Maintenance.
* 0 → 1 Informative (default):
* 1 → 2 Low.
* 2 → 3 Medium.
* 3 → 4 Serious.
* 4 → 5 Very serious.
Pre-requirements
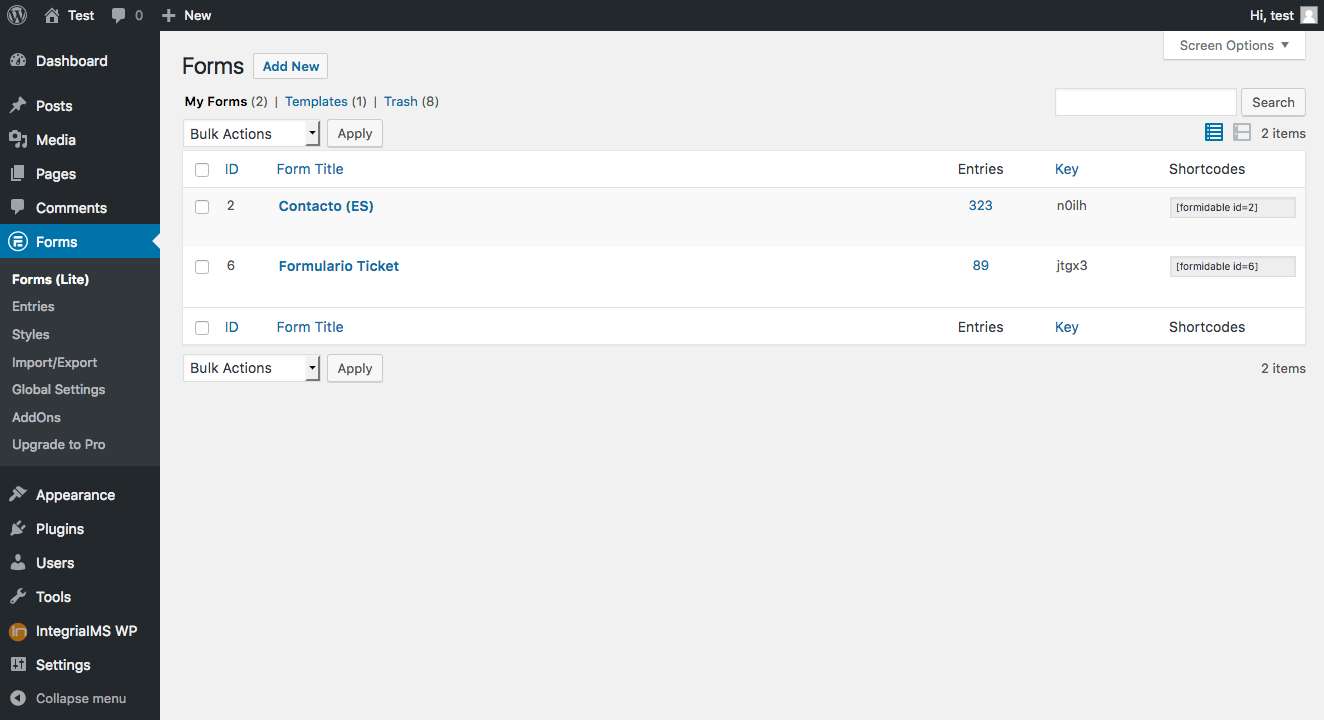
- You must have the Formidable plugin installed.


