

relaybell
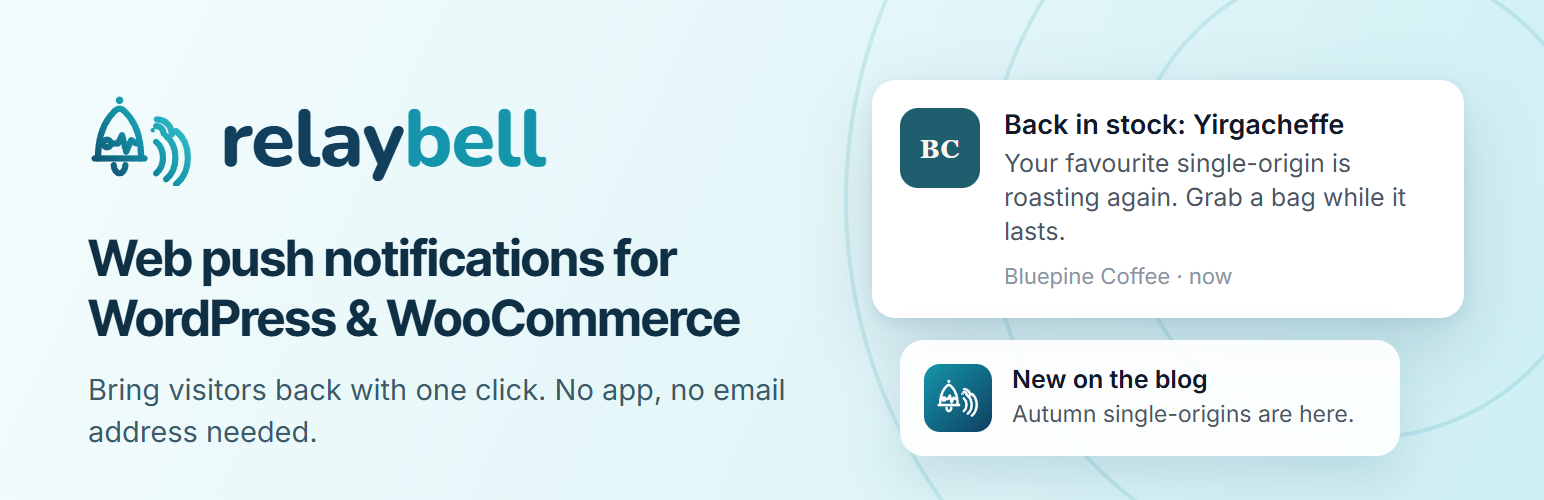
relaybell adds browser push notifications to any WordPress site. Visitors opt in
with a native prompt, and you reach them again with a click — no app, no email
address required.
Core
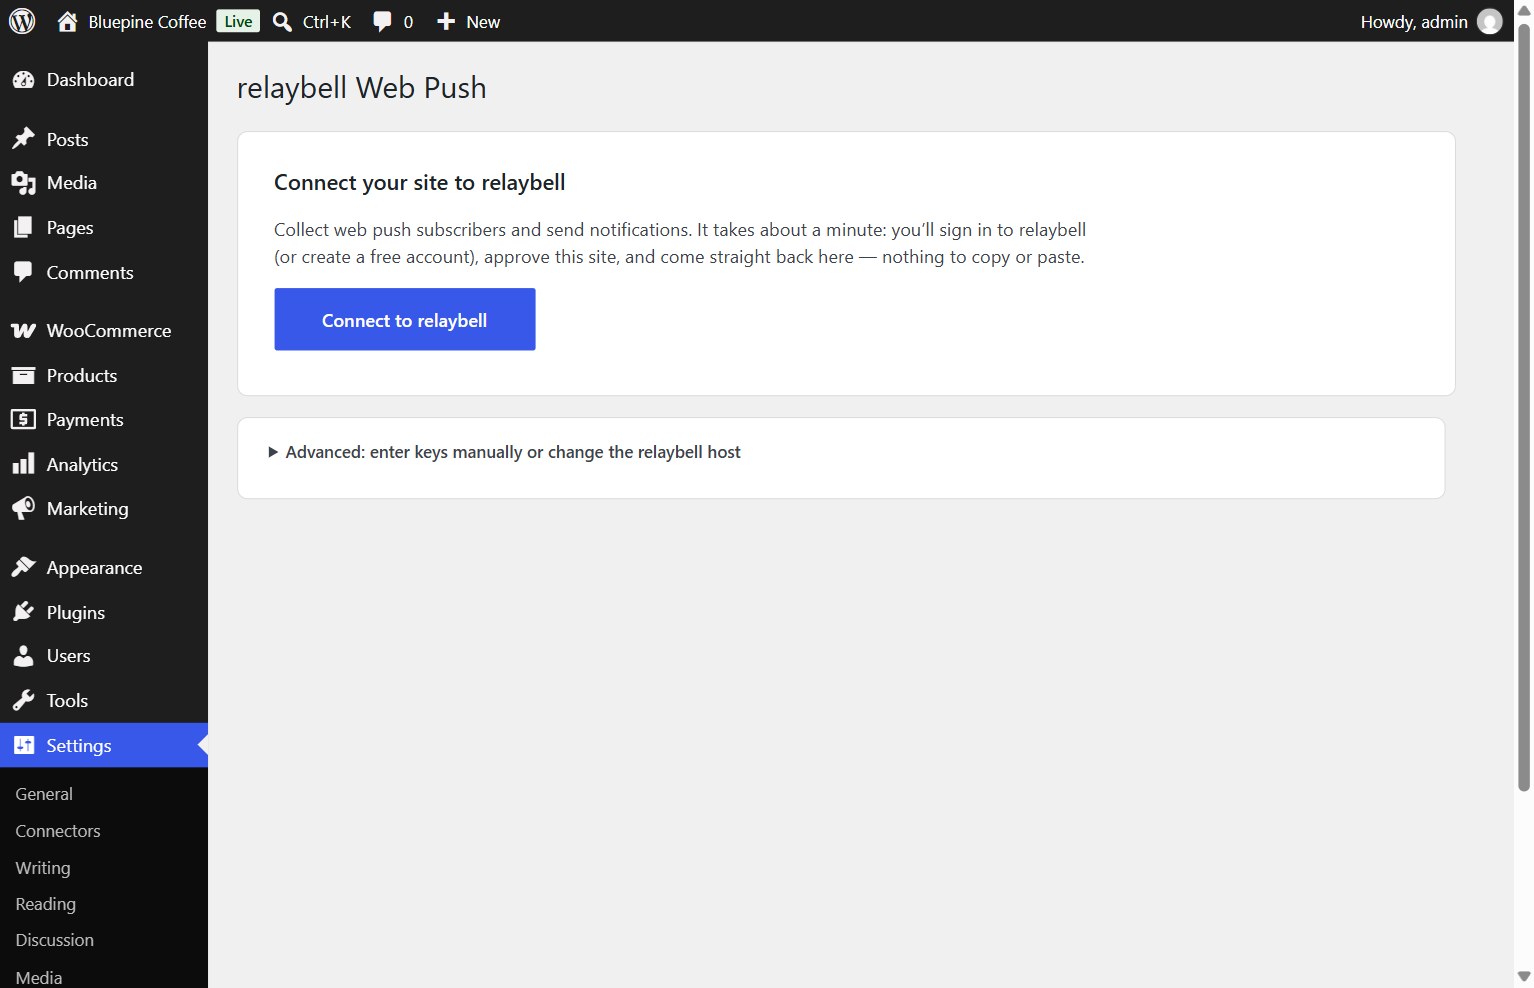
- One-click Connect to relaybell — sign in (or create a free account),
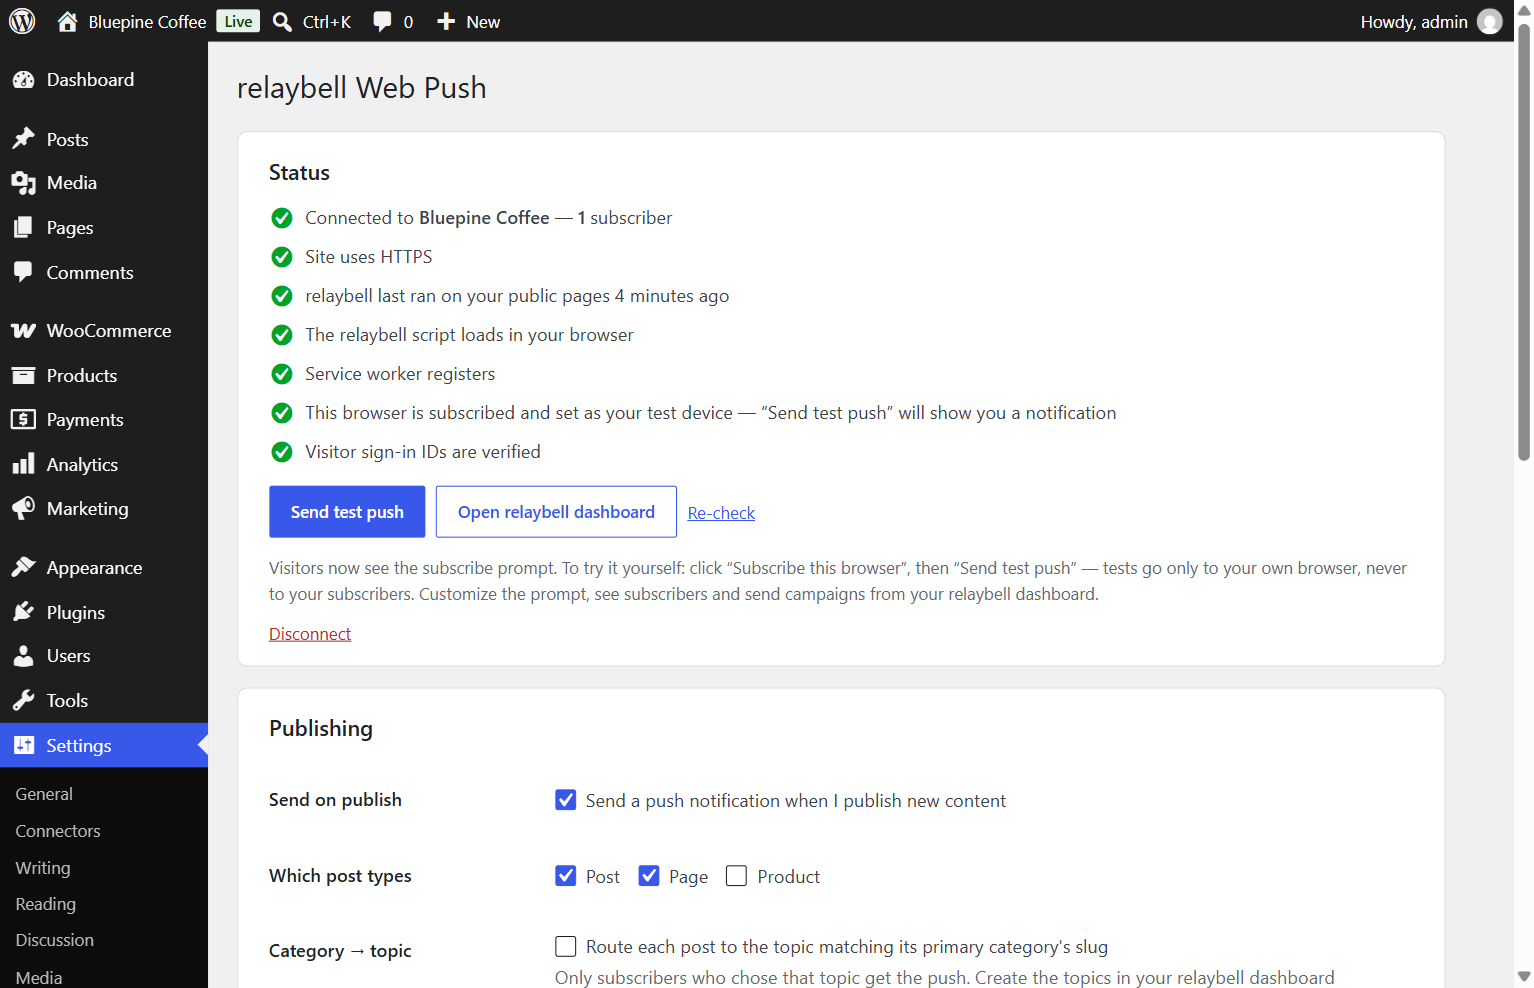
approve your site, and you’re back in WordPress, connected. Nothing to copy. - A status panel that checks everything for you: connection, HTTPS, your
relaybell account, the relaybell script, the service worker, whether
relaybell runs on your public pages and whether a page cache still serves
visitors an older copy — with a plain-English fix for anything that isn’t
right. - Opt-in prompt powered by the relaybell browser SDK.
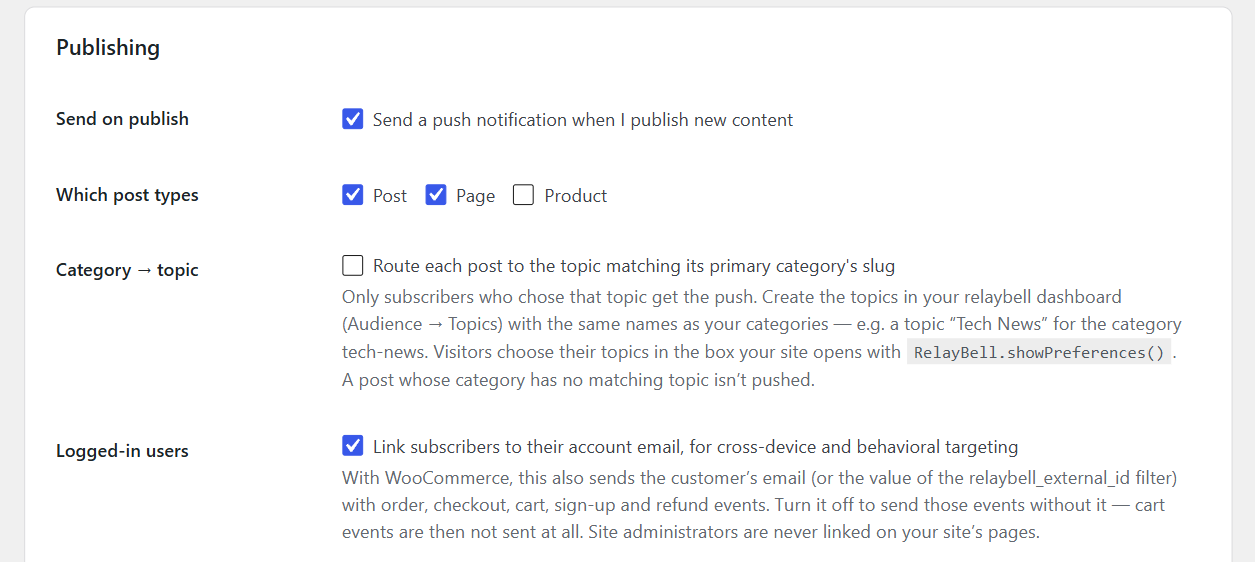
- Automatic push when you publish — choose which post types, attach the featured
image, and optionally send each post only to subscribers of the relaybell
topic named like its primary category (create those topics in relaybell
first; visitors choose topics in the box opened by
RelayBell.showPreferences()). - Clears the page caches of common caching plugins and hosts when you connect,
disconnect or update, so visitors get the current set-up. - The service worker ships as a static file inside the plugin, so it works with
any permalink setting and web server, and alongside PWA plugins. - Identify logged-in users by account email so behavioral and cross-device
targeting work (filterable to a hashed id).
WooCommerce
When WooCommerce is active, relaybell automatically fires behavioral events to
your relaybell project — no code, just save an API key. Each event can be toggled
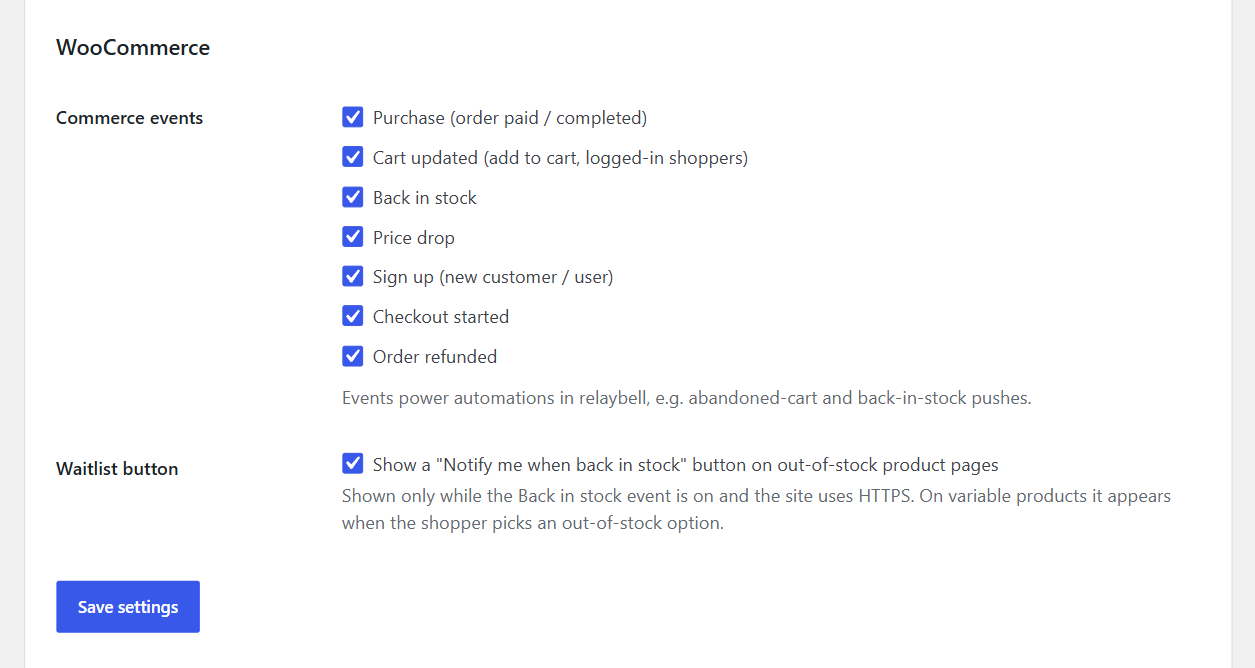
on or off under Settings relaybell:
purchase— order paid or completed (de-duplicated per order).cart.updated— item added to cart (logged-in shoppers).back_in_stock— a product or variation is back in stock; relaybell alerts
everyone on its waitlist.price_drop— a product’s price falls below the last price relaybell saw;
relaybell alerts shoppers who viewed, carted or wait-listed it.signup— a new customer / user registers.checkout.started— an order is created at checkout (classic checkout or the
Checkout block), once per order.order.refunded— an order is refunded.
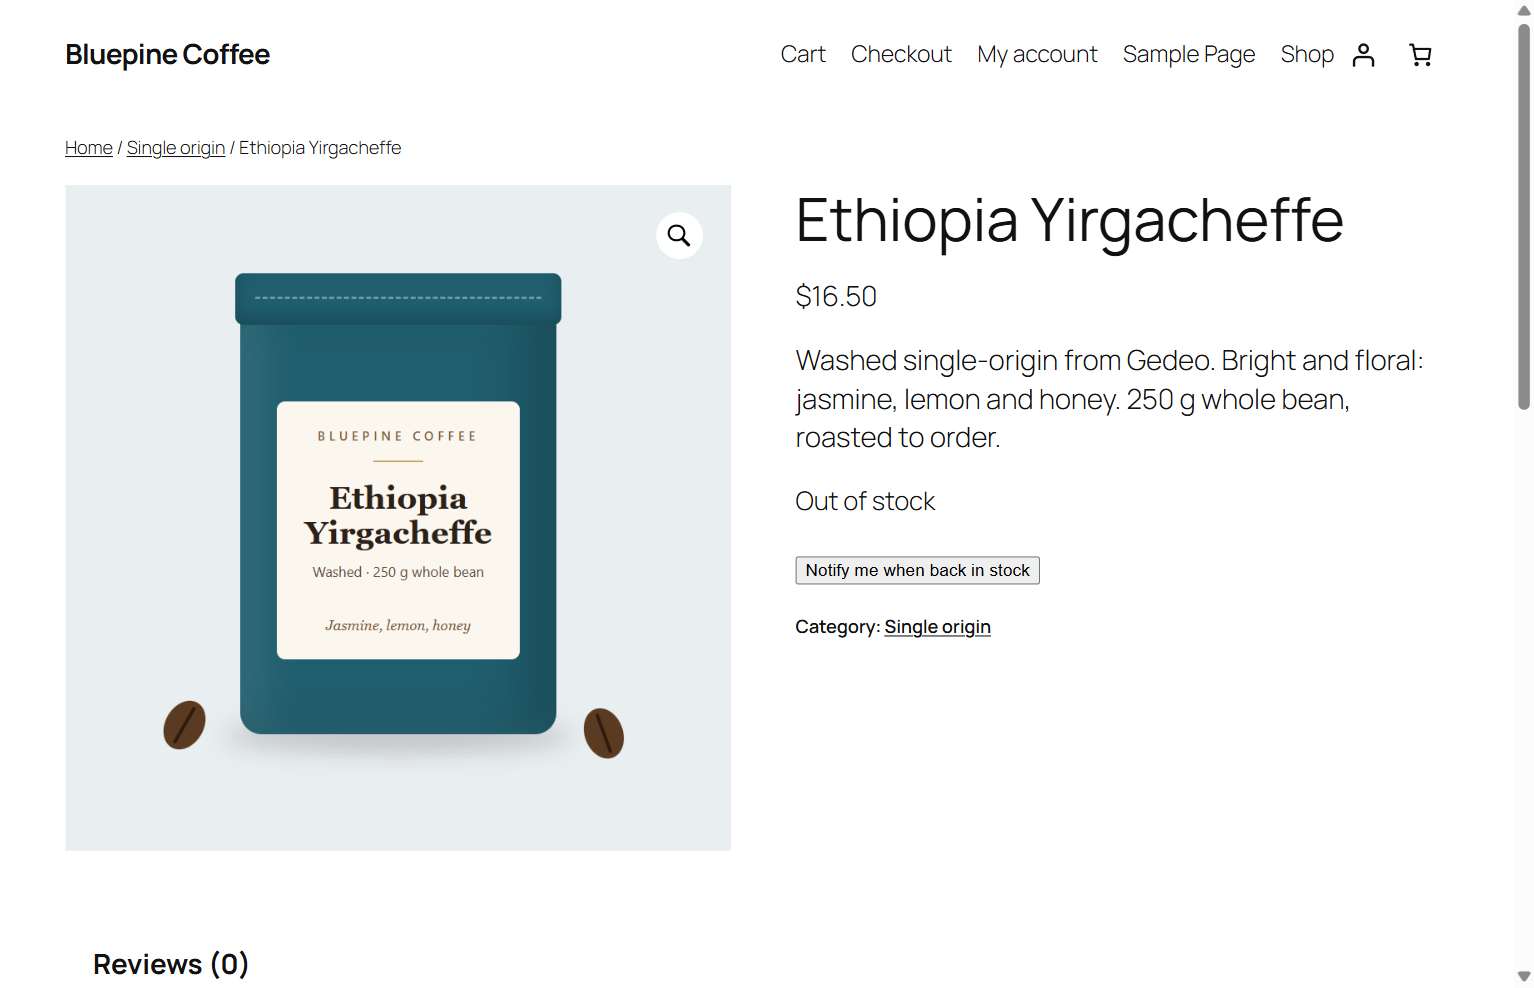
It also adds an optional “Notify me when back in stock” button on
out-of-stock product pages (and for out-of-stock options of variable products)
that subscribes the shopper and puts them on that product’s waitlist.
Events are sent at the very end of the request, after the page has been built
(on PHP-FPM and LiteSpeed servers, after it has been delivered), so your store’s
pages never wait for relaybell.
HPOS (High-Performance Order Storage / custom order tables) is fully supported.
External services
This plugin connects to relaybell (https://relaybell.com), a web push
notification service operated by Nexistech. relaybell is required for the plugin
to function: browser push notifications cannot be stored or delivered without a
push service, and this plugin is the WordPress client for that service. You need
a relaybell account and API key to use the plugin.
1. The relaybell browser SDK (https://relaybell.com/relaybell-sdk.js)
The SDK script is loaded on your site’s front end so visitors can opt in to push
notifications. This happens on page load, for every visitor, once you have saved
a Project ID. On each page view the SDK also fetches your project’s public
settings (GET https://relaybell.com/api/v1/projects/{project id}/config: the push
key and the prompt and on-site message settings you chose in relaybell). The
visitor’s browser sends its normal request data to relaybell (IP address, user
agent and your site’s address) with these requests.
If you set them up in your relaybell dashboard, the SDK also reports, without any
personal data: which version of an A/B-tested opt-in prompt was shown (POST
…/prompt-event), and views and clicks of on-site messages (POST
…/onsite-event: the message id and whether it was viewed or clicked).
2. Subscribing a visitor (POST https://relaybell.com/api/v1/projects/{project id}/subscriptions)
When a visitor accepts the browser’s notification prompt, the SDK sends their
push subscription to relaybell: the browser-issued push endpoint URL and its
encryption keys, plus the page URL, the browser’s language and time zone, which
prompt version they saw, and any topic or tags you have configured. For
logged-in users the plugin also sends their WordPress role as a tag. If the
browser later replaces a subscription on its own, the service worker re-sends it
(with the old endpoint) in the background. If the visitor later changes their topics in the box opened by
RelayBell.showPreferences(), the SDK saves the choice (GET/POST
…/preferences).
If the visitor is logged in to WordPress, their account email is also sent as an
externalId so you can target them across devices — you can replace this with a
hashed value using the relaybell_external_id filter, or remove it entirely
(turn off “Link subscribers to their account email”). This is only sent for
logged-in users (never for site administrators), and only after the visitor has
opted in to notifications. It comes with a userHash, a signature your server
makes from the id (see 9 below), so relaybell can tell the id really comes from
your site.
3. Sending notifications (POST https://relaybell.com/api/v1/notifications)
When you publish a post (if “Send on publish” is enabled), the post title, the
first 20 words of its text, its permalink and featured image URL (and, with
“Category topic” on, the matching relaybell topic) are sent to relaybell so it
can build the notification. Your API key authenticates the request.
Password-protected posts are never sent.
4. WooCommerce events from your server (POST https://relaybell.com/api/v1/events)
If WooCommerce is active, your server sends commerce events to relaybell,
authenticated with your API key: an order’s id, total and currency (purchase,
checkout.started, and order.refunded with the refunded amount); the product’s
name, id and page URL plus the cart’s value (cart.updated); a new user’s id
(signup); and a product’s name, id and page URL (back_in_stock), plus its old
and new price (price_drop). Each is sent at the end of the request that
triggered it. These events are enabled by default once WooCommerce is
active and the site is connected; each one can be turned off individually under
Settings relaybell.
While Link subscribers to their account email is on, the customer’s email —
the account email for a registered customer, otherwise the order’s billing email,
or whatever your relaybell_external_id filter returns instead — is sent with
purchase, checkout.started, cart.updated, signup and order.refunded
events, so relaybell can match them to the shopper’s subscription. With it off,
those events are sent without it and cart.updated is not sent at all.
cart.updated is never sent for shoppers who aren’t logged in; for a guest
order, the billing email is used. back_in_stock and price_drop
describe a product and never include customer data.
5. Shopper interest from product pages (POST https://relaybell.com/api/v1/projects/{project id}/events)
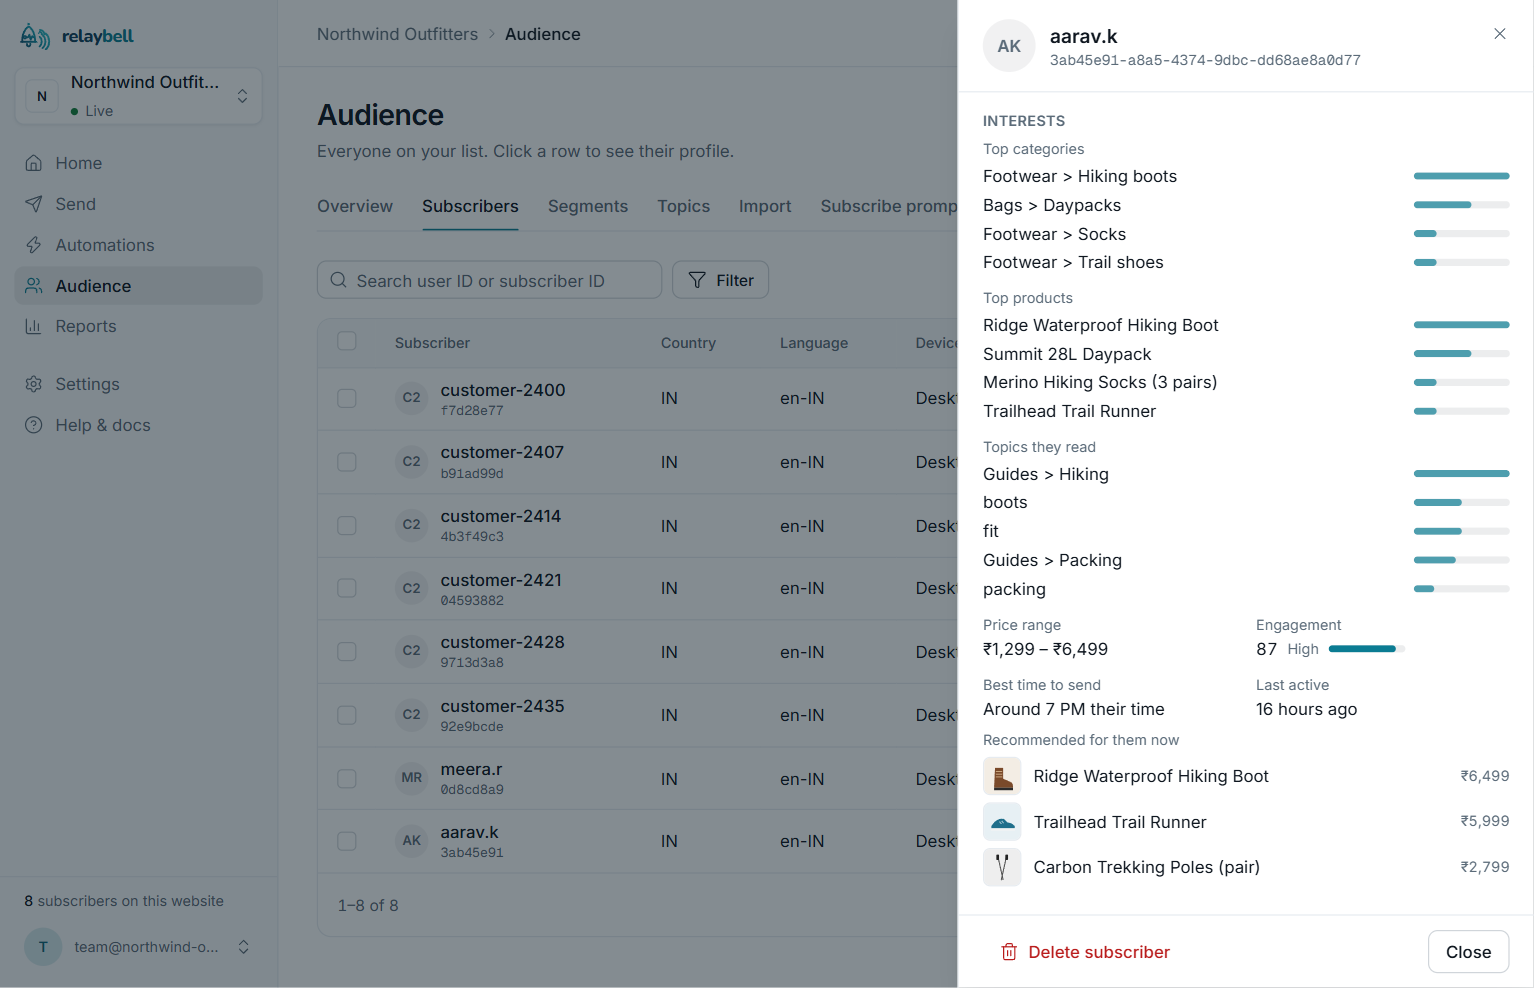
On WooCommerce product pages, the visitor’s browser sends two events to relaybell:
waitlist.join— when the visitor clicks Notify me when back in stock and
allows notifications.product.viewed— when a visitor who is already subscribed opens a product page
(only while the Price drop event is on).
Each sends your relaybell project id, the product id (or the chosen variation’s
id), the browser’s push endpoint URL, and — when “Link subscribers to their
account email” is on and the visitor is logged in — their external id (account
email, or your filtered value). Nothing is sent for visitors who haven’t
subscribed to notifications.
6. Delivery and click reports (POST https://relaybell.com/api/v1/notifications/{id}/receipt and /click)
When a notification reaches a subscriber’s browser, and when they click it, the
service worker reports it to relaybell for delivery and click-through stats. The
report contains the notification id, a signed token and the subscription’s id —
no page content or personal data.
7. Connecting your site (https://relaybell.com/connect/wordpress and POST https://relaybell.com/api/v1/connect/exchange)
When an administrator clicks Connect to relaybell, their browser is sent to
relaybell with your site’s address, site name, the wp-admin return address and
a one-time security value. After they approve, relaybell returns a one-time code,
and your server exchanges it (sending the code and your site address) for your
relaybell Project ID and an API key, which are saved in your site’s database.
8. Admin status and test push (GET/POST https://relaybell.com/api/v1/…)
The status panel on Settings relaybell checks your connection and shows
your subscriber count (GET /api/v1/stats), checks that your Project ID belongs
to your API key (GET /api/v1/me), and shows when relaybell last ran on your
public pages (GET /api/v1/setup-status) — all from your server, with your API
key. The panel also loads the relaybell script and your project’s public
settings (GET …/projects/{project id}/config) in the administrator’s browser,
to confirm they aren’t blocked (the script is only fetched there, not run), and your server fetches your own home page once
in a while (like a visitor, without cookies) to tell whether a page cache still
serves an older copy; that request stays on your site.
While the “verify your relaybell email” notice is shown, the Plugins screen
re-checks it in the background at most once an hour (GET
/api/v1/stats, and GET /api/v1/me).
Advanced relaybell host changes where all of the requests in this
section go (for relaybell-provided hosts only). It must be an https:// address.
Subscribe this browser subscribes the administrator’s own browser the same
way a visitor subscribes (see 2), then your server marks that browser as your
test device (POST /api/v1/test-devices: its push endpoint URL). Send test
push asks relaybell to send a test notification to your test devices only
(POST /api/v1/test-devices/send: the test title and text, and your home page
address). These only run in wp-admin, when an administrator uses them.
If you open a “send test to my device” link from your relaybell dashboard on your
site, the SDK registers that browser as one of your test devices (POST
/api/v1/test-devices/claim: the code from the link and the browser’s push
endpoint URL).
9. Verifying visitor sign-in IDs (GET and PUT https://relaybell.com/api/v1/identity)
So nobody can pretend to be one of your customers to get their notifications,
your server fetches your project’s identity secret from relaybell with your API
key — when you connect, when you open Settings relaybell, and once a day —
and keeps it in your site’s database. The first time, it also asks relaybell to
accept only verified sign-in IDs for your project (you can turn this off in your
relaybell dashboard under Settings Developer). The secret is used on your
server to sign logged-in visitors’ IDs; it is never put in your pages. No visitor
data is sent with these requests.
10. Disconnecting (DELETE https://relaybell.com/api/v1/keys/current)
When an administrator clicks Disconnect, your server asks relaybell to cancel
the API key that one-click Connect created for this site, so a copy left in a
backup can’t be used. Only the key itself is sent (as the request’s
authorization). A key you entered by hand is left alone.
No data is sent anywhere until you connect (or save a Project ID and API key
manually).
Service provider: Nexistech (https://nexistech.in)
Terms of service: https://relaybell.com/terms
Privacy policy: https://relaybell.com/privacy
Data processing agreement: https://relaybell.com/dpa
Details


Related plugins
Plugins that also contain the tag marketing
Hostinger Reach – AI-Powered Email Marketing for WordPress

Popup Maker – Boost Sales, Conversions, Optins, Subscribers with the Ultimate WP Popups Builder

Pinterest for WooCommerce

Creative Mail – Easier WordPress & WooCommerce Email Marketing

HubSpot All-In-One Marketing – Forms, Popups, Live Chat

Klaviyo


About
Plugin for that tries to help you find the WordPress plugin you are looking for.
| Please enjoy an image of Crush (this awesome turtle) and have a lovely day! |  |
We do not own any plugin listed on this site and do not work for or work with WordPress.com or it's associated companies. We simply provide a searchable list of the available WordPress plugins.